Showing posts with label Spellbinders Classic Circles Large. Show all posts
Saturday, 30 August 2014
Winter Snowflake Wishes
In my stash I found some cut, tuck, fold Spellbinder's snowflake dies, so I decided to have a play with them! I used an 8x8 card blank and used centura pearl, pale blue and teal cardstock to matt and layer. To create the cut-out circles I used my Spellbinder's Standard Circle dies in 2 sizes randomly on the pale blue card. Once the circles were cut I then ran the paper though the machine using the Embossilicious Regency Swirls folder. The sentiment is from Tattered Lace. To create the snowflakes I cut them from centura pearl, then inked through the dies with the paper still inside. I also inked the back of the snowflakes so that when they are folded there is more of an interest to them. Silver ribbon was then put on the tops of the circles to create a 'bauble' type of effect.
Saturday, 2 August 2014
A New Baby Boy!
Ok, so it's not hard to guess the theme here! There seems to be a trend for lots of babies where I work at the moment...
Anyway, I wanted to make something for my friend, so here was the prefect excuse to make a bag charm again! I ordered some baby charms and had fun choosing blue and clear beads to make the charm.
Saturday, 15 March 2014
Lacey Engagement Wishes
This card was my first made using Tattered Lace dies. I matted and layered snow white Centura Pearl and lilac card stock onto an 8x8 blank.The centre piece I die cut twice top and bottom with the Tattered Lace Chantilly Flourish die. I then removed the cut pieces and put the main card section through an A4 Crafts Too embossing folder. The die cuts were then gently glued back into position and a matching piece of ribbon placed across the middle. The Lili of the Valley sentiment has been dry embossed in silver before being cut and mounted using Spellbinder Classic Circles Large and Lacey Circles. All the crossing sections from the embossing folders have had tiny gems added in matching colours, and a random dot/dash pattern has been doodled along the edge to finish it off.
Tuesday, 10 December 2013
Wreath Swing Cards
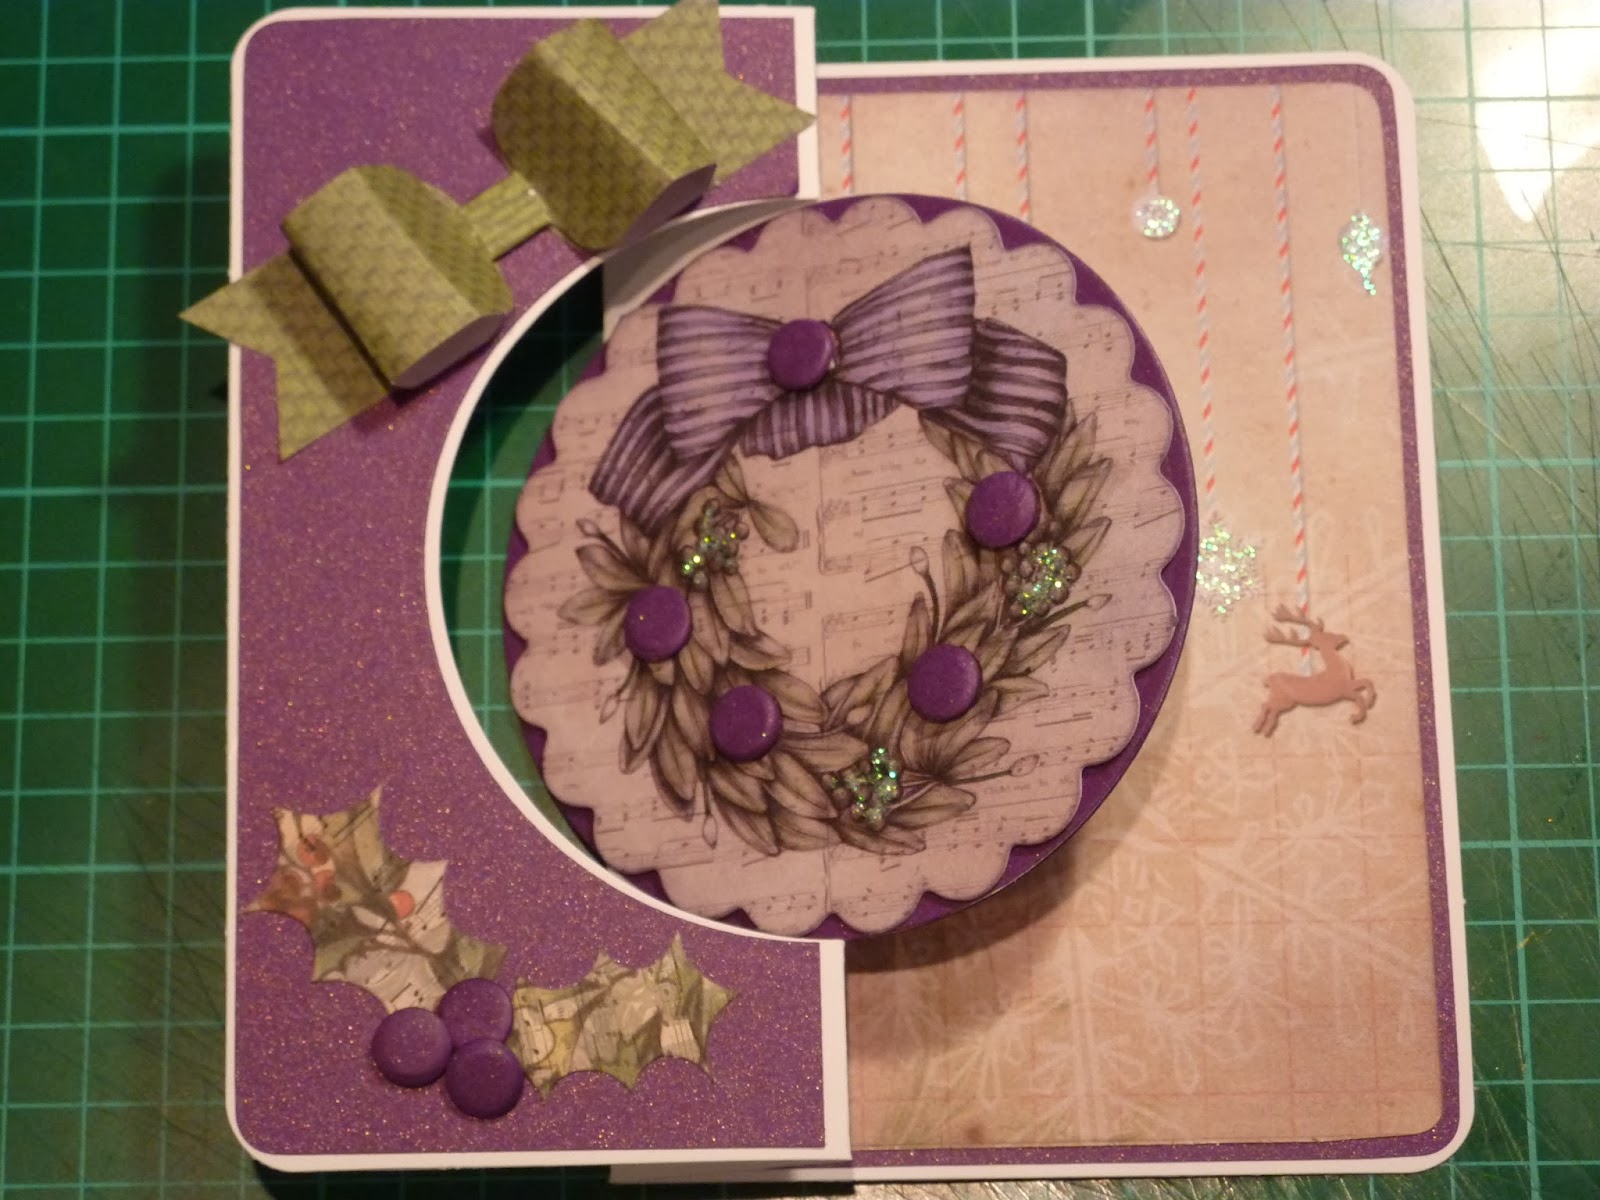
Here are some swing cards made using Craftwork Cards Christmas Post papers, bows and some toppers from one of their pads. Card Cardi has been used to highlight the berries and pick up the card background colour. Small highlights with glitter Stickles have also been used to add interest. All the mat and layer shapes have been cut with Spellbinders Dies.


Tuesday, 12 November 2013
I've Been Good All Year!
With this card and the slight variation, I wanted to make use of the fantastic IndigoBlu words that I just had to get. I love the font and the cheeky message here, it allows so many options! The background paper is the Craftwork Cards Christmas Post papers again, (are you seeing a trend here...!) which have also been distressed with vintage photo ink. I have used a paper bow from the same kit and also a strip of paper for the middle detail. The fantastic sleigh and tiny holly leaves have been cut using my Cricut and the new December 25th cartridge. The middle circle has been cut with a Standard Circle Large Spellbinder die through decorative paper covered with double sided adhesive. Once cut I then covered with Micro Beads. This gives a great tactile effect which I am getting very fond of at the moment. The decorative circle behind has been cut with Spellbinders Delightful Circles die, and the label shape is a Labels Eight die. The bottom variation has the addition of some Glossy Accents on the stamp image and little of the famous Card Candi!
Thursday, 19 September 2013
Cosy Friendship Cuddles
Sometimes I think we underestimate the pure value of sending a card just to put a smile on someone's face, so I thought I would make one to do just that! Feeling in a pinky mood, (can you tell..?) I chose an adorable LOTV image (Milly Cuddle Time) that can make anyone smile! The main image has been coloured with Promarkers, lightly edged with Spun Sugar Distress Ink and cut with basic Spellbinders circle dies. This main topper has then been layered onto a piece of dark red paper cut into a square shape with a border on the side (the fancy border section is a Tim Holtz On the Edge die - Scrollwork); Matching background paper has been matted on top, along with pink lace and thin satin ribbon to edge the work. The large red swirl is a Tim Holtz Bigz die - Elegant Flourishes. The sentiment is another LOTV stamp from a fantastic sentiment set that has a brilliant range to choose from. Again, I have used Spellbinder dies to layer. Finally the flowers have been cut from coordinating plain cardstock using the Heartfelt Creations Sun Kissed Fleur die. I have added little 'stitch' like lines to accent the flowers and papers, along with more Spun Sugar Distress Ink to bring in the edges. The flower centres have been done using Liquid Pearls Rouge. The background papers are from the First Edition Sweet Owl pad.
Thursday, 11 April 2013
Party Girl!
A friend of mine at work is very excited about her birthday, and as she is a little bit of a party animal, this card was made especially for her! I had to (!) treat myself to some of the new Strawberry Kisses stamps, and as Crafter's Companion had some offers on the range for their birthday week, it seemed the perfect time! I have used some papers from a pad called 'Dreamcatcher' for the background and flowers. I have coloured the image using Promarkers and have used a mask to 'Spray and Sparkle' the shoe (although you can't really see it in the photo). Spellbinders have been used to cut the image and layer it. I hope she likes it on Monday! As the Crafter's Companion challenge is also about flowers this month, I am also going to enter this in it...
Anniversary Men's Cards
I had a tricky request for this card; a card for someone's husband on the occasion of their 4th wedding anniversary. It had to have male colours, be traditional and also have flowers... Well, I took the opportunity to use my new Persian Spellbinders Dies and had a play! I have also used Standard Circles and printed the text onto card using my computer (I never seem to have the sentiment I need!!) The flowers were done whilst also playing with a new Cricut Cartridge - Flower Shoppe. I LOVE this cartridge! There are so many combinations and it's so much fun! It's worth buying the machine just to use that cartridge and be able to make coordinating flowers! The papers on this card were embossed green coordinations card and some dotty card left over from my stash. I have also used some chocolate organza ribbon bought from Crafting.co.uk. I was not sure at first but this card is growing on me...
and another one...
Bright and Magical
Wednesday, 7 March 2012
Best Friends
Lili of the Valley Girlies...
This card has been made as I love this little girl! She reminds me of my daughter! I have used some gorgeous paper from a pad called Dreamcatcher which is full of lovely purples and spring colours. She was actually coloured whilst my family was on holiday and I took some stamps and Promarkers with me! She has been cut out using a Spellbinders Standard Circles Large die and the accompanying Scalloped circle size. I have then layered with Dreamcatcher papers and cut some swirls using my Cricut Essentials cartridge. There are also some lace, pearls and flowers from my stash!
Variation on a theme....slightly more simple though.
Another one of the LOTV girls and coloured at the same time as the one above! These were actually done in November, but it has taken me this long to get them onto cards! Never mind. Same principle as above; have also used a LOTV sentiment stamp on this one though. No lace on this one but larger flowers! I love using flowers, but am going for the flatter ones at the moment; I hate making boxes for all the raised ones...they never seem to look quite right to me. I do realise that this is user error though...
Variation on a theme....slightly more simple though.
Another one of the LOTV girls and coloured at the same time as the one above! These were actually done in November, but it has taken me this long to get them onto cards! Never mind. Same principle as above; have also used a LOTV sentiment stamp on this one though. No lace on this one but larger flowers! I love using flowers, but am going for the flatter ones at the moment; I hate making boxes for all the raised ones...they never seem to look quite right to me. I do realise that this is user error though...
Subscribe to:
Posts (Atom)
